If you’re a blogger and WordPress is the backbone of your blog, then you know how important it can be to keep things running smoothly. Unfortunately, sometimes issues happen that make it difficult or impossible to get back up and running.
Creating backups before any major changes helps with this, but what do you do when something goes wrong? This article will walk through the process of How to Reinstall WordPress in detail so that even beginners can get their blog up and running again quickly.
Table of Contents
When Should I Reinstall WordPress?
There are a number of reasons why you might need to reinstall WordPress. Some of the most common include:
You get locked out of your account or are having login issues for some other reason. This is usually caused by a corrupt database or an issue with configuration files. If you’re unable to log in and your blog is basically inaccessible, you’ll need to reinstall WordPress.
Your site has been hacked and you want to start fresh. In this case, you’ll want to back up your files and database first, then reinstall WordPress and restore your backup.
You’re experiencing errors or other problems with your current installation that can’t be fixed any other way.
4 Ways To Re-Install WordPress

There are several ways to reinstall WordPress, but I’ll cover the four most popular methods in this section. You can choose which method you’d like to use based on your level of experience and the tools you have available.
Reinstall WordPress Manually
Steps To Follow:
- First of all you have to download the latest version of WordPress from wordpress.org and extract the files to a temporary location on your computer.
- Create a new folder on your computer (e.g. “WordPress”) and upload all of the extracted files to this folder.
- Open up a web browser and navigate to your website’s domain name.
- Click on the “Upload” button and select the “WordPress” folder from your computer.
- Then right-click on “Start Upload” button and wait for the files to upload.
- Once the upload is complete, navigate to your website’s home page. You should see a message that says “Installation Complete!” Click on the “Run the Install” button.
- Enter your blog title, admin username, and admin password, then click on the “Install WordPress” button.
Your installation of WordPress should now be complete!
Reinstall WordPress Using cPanel (Recommended)
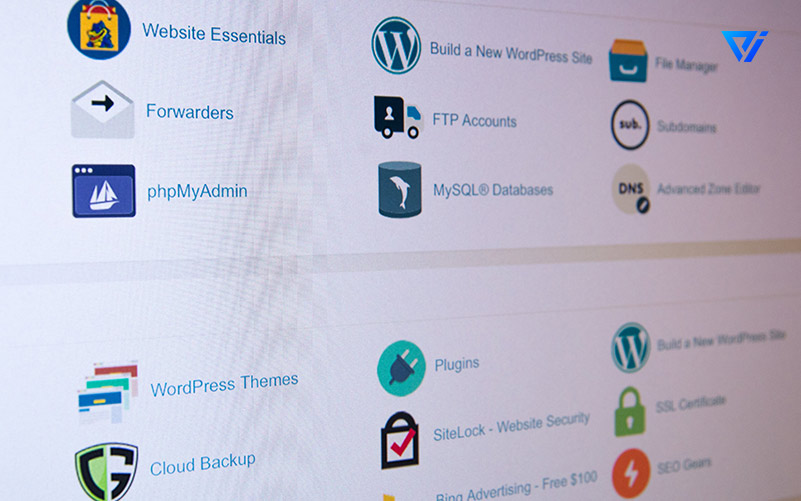
This is a good option if your blog is hosted on a shared server and you have access to cPanel (the primary tool for managing your web hosting account). The great thing about this option is that it can be done in less than five minutes once you know what you’re doing.
Steps To Follow:
- Open your cPanel and find the “Install WordPress” icon.
- Click on the “Install WordPress” icon afterwards click on the “Launch Installer” button.
The cPanel will download a small plugin that allows you to run the WordPress installer straight from your web browser. - Click on the “Run the Install” button and enter your blog title, admin username, and password in the fields provided (you can also change these values if you wish).
- Make sure that all of the folders and users are correct then click on the “Install WordPress” button. A Message will popup “Installation Complete!”
Click on the “Login” button to gain access to your newly installed WordPress blog!
Reinstall WordPress via FTP
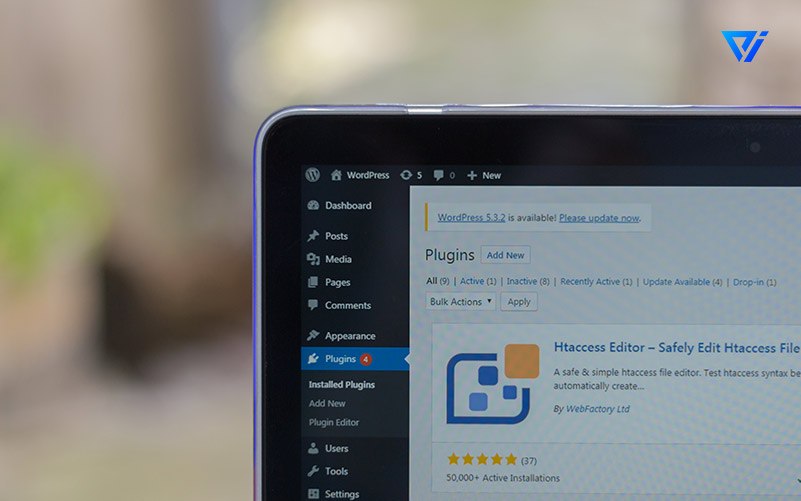
This is another good option if you don’t have access to your website’s host or cPanel. This method can be done in any FTP client, but I’ll be using FileZilla for the examples in this section.
Steps To Follow:
- Download and install FileZilla if you don’t already have it installed.
- Open FileZilla and enter your website’s FTP details in the top section.
- Right-click on the local drive-in FileZilla and select “Site Manager.” Simply select the “New Site” button and give your site a name (e.g. wp1).
- In the “Host” field, enter your website’s domain name (e.g. mysite.com).
- Click on the “Login” button and FileZilla will automatically log in to your website.
- Navigate to the “wp-content” folder and delete all of the names of the files because you’ll need them later.
- Click on the “Open” button to connect to your website’s FTP server.
- Navigate to the “wp-content” folder and delete all of the files and folders inside this folder.
- Upload all of the extracted WordPress files from your computer to the “wp-content” folder on your website.
- In FileZilla, right-click on the “localhost” server and select “New Remote Site.” Enter a name for your new site (e.g. “wp2”) and enter your FTP details in the top section, then click on the “OK” button to save it.
- Right-click on the “wp2” site and select “Upload.” Navigate to your WordPress files in FileZilla then click on the “Select” button.
- Click on the “Start Transfer” button then wait for all of the files to upload.
- Once complete, navigate to your website’s home page and you should see a notification saying that “Installation Is Complete!” Click on the “Run the Install” button.
- Enter your blog title, admin username, and password in the fields provided (you can also change these values if you wish) then click on the “Install WordPress” button.
- Your installation of WordPress should now be complete!
Reinstall WordPress Without Maintaining Content
This is another good option if your domain is hosted on a shared server and you don’t have access to cPanel. The nice thing about this method is that it will completely wipe all of the data from your blog without maintaining any of the old files, which may be useful for certain tasks.
Steps To Follow:
- Open your FTP client and connect to your server.
- Delete all of the files inside of the “wp-content” folder, then navigate to your domain’s directory or public_html folder (e.g. example.com/public_html)
- Download WordPress from WordPress.org in a ZIP file, then extract it to your computer.
- Make sure that you have access to cPanel on your website account if it exists. If not, jump down to the next section.
- Navigate to the “Softaculous” app and click on the “Install WordPress” button.
- Enter your blog title, admin username, and password in the fields provided (you can also change these values if you wish) then click on the “Install WordPress” button.
- Your installation of WordPress should now be complete!
Conclusion:
At last, you have successfully reinstalled WordPress. It is really an easy process and you don’t have to be an expert to do it. Just take your time and follow the steps one by one. After that, you can easily customize your blog the way you want.
Thanks For reading, Have A Good Day Ahead 🙂


