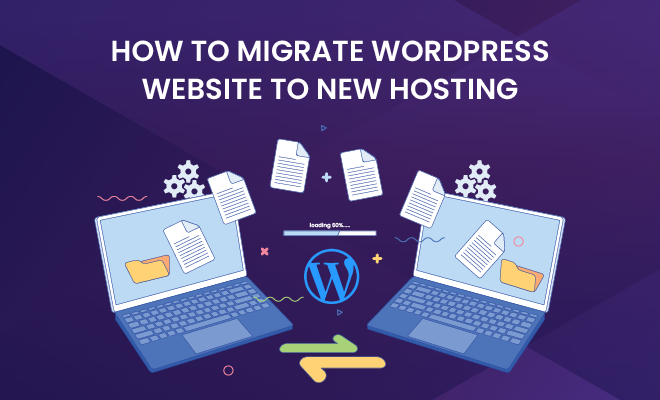
An article about how to migrate WordPress website to new hosting. It is a process that many of us have to go through now and then. There are some pitfalls you can avoid with the help of this guide, so read on to learn more.
Moving your website to a new host is often necessary, but can also be anticipated because of planned server maintenance or downtime. If you’re reading this article it’s because you’ve either experienced downtime on your current hosting plan and want to avoid it happening again, or you’re planning the switch before the old hosting service goes down.
Should I Migrate WordPress Website to New Hosting Manually or Automatically?
Migrating a WordPress website from one host to another is not an easy task especially when you have lots of posts and media files on your site.
The best way to migrate WordPress website to new hosting is by using plugins like WP Migrate DB Pro or BackupBuddy, but if you want to do it manually then some things need to be done before migrating your WordPress site. You may wonder why you should move your site manually if those plugins can do it automatically.
For example, if you have a huge amount of content in your WordPress website and the plugin fails to move everything like post images, comments, menus, etc. then you will end up with a broken WordPress site that is not accessible at all.
Steps: How to migrate WP Website to new Host
1. Download the migration plugin from WordPress -> Plugins -> Add New -> Upload, and install it on your site
2. Export the database of the old host to a file with phpMyAdmin or similar software
3. Connect to new hosting services and import your database into their MySQL database
4. Copy the wp-content directory from the old host to the new one, preserving permissions
5.
6. Point all settings in wp-config.php to new server information (e.g., $site_url = “http://www.mysiteaddress.com”)
7. Point domain DNS records and forward them to the new host server
8. Log in to WordPress Dashboard and go to the Tools menu -> Import -> WordPress, install importer plugin
9. Under Settings Menu click on Migrate DB button
10. Click Browse under Select File
11. Browse for the SQL file you exported from your old hosting service
12. Click the Upload file and import button
13. Click on the Run Importer button
14. Once done, select all contents on the spam page and click the Delete Selected Posts button
15. You are now able to log in to the WordPress Dashboard since all necessary credentials are now imported from your old hosting server
16. Login to your website’s administration panel at your new hosting server and visit Tools -> Import
17. Select WordPress option under the types of importers, click Next
18. Leave all basic options as is, select Get external articles and media files at once (download), click WordPress export file (.xml)
19. Browse for the exported XML file on your old host’s server
20. Click Next and run the importer
21. You can now start managing your website from the new hosting server.


